whiteboard-animator
Turn a whiteboard-style image into a hand-drawn animation. One command, CPU only.

pip install whiteboard-animator
whiteboard-animate sketch.png --duration 8 -o sketch.mp4
Give it a finished whiteboard picture and it writes the text word by word, traces the outlines, fills the shapes with brush strokes, and draws branched line art one stroke at a time, the way a person at a whiteboard would. Add a narration file and the drawing paces itself to the voice.
This is the render engine behind the Whiteboard format at Kinoslide, released so anyone can animate their own images.
Examples
The examples below show standalone illustrations and scenes from a photosynthesis lecture animated with the CLI.
 | 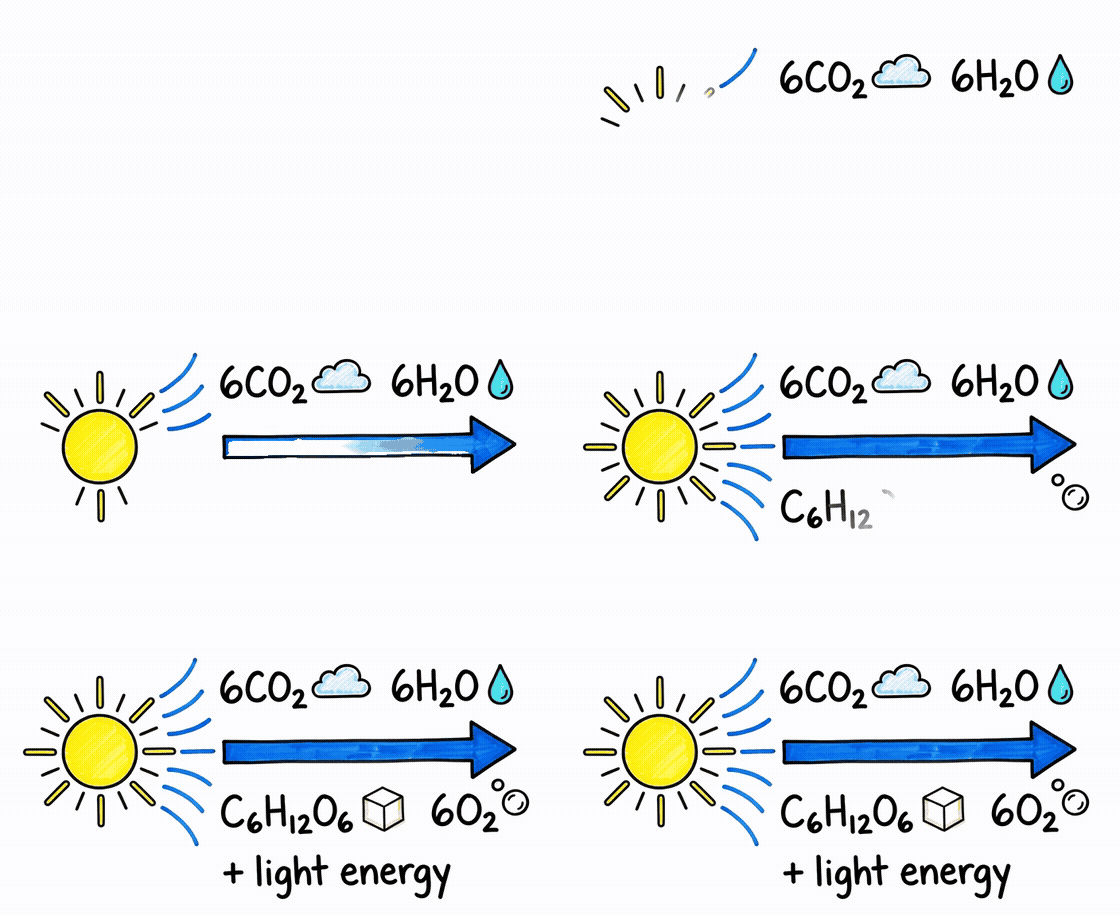 |
examples/gyroscope.png | examples/equation.png |
 | 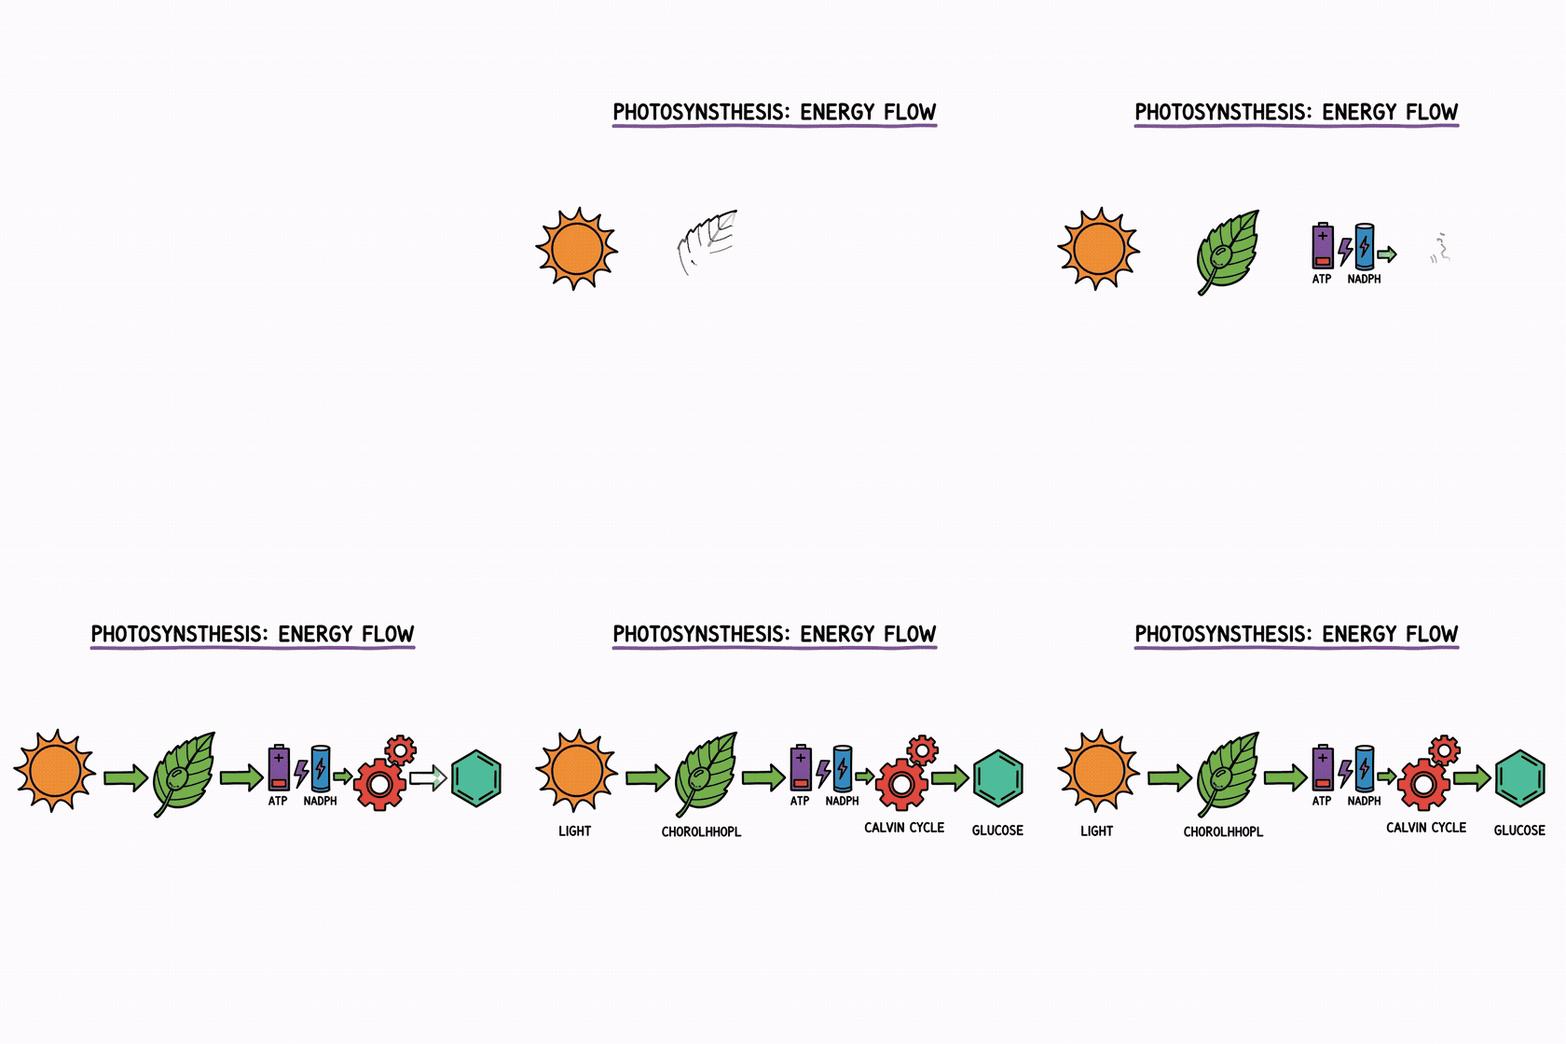 |
examples/photosynthesis/03_carbon_fixation.png | examples/photosynthesis/04_energy_flow.png |
Full videos made with this engine
Complete narrated videos using this engine. Click to watch on YouTube.
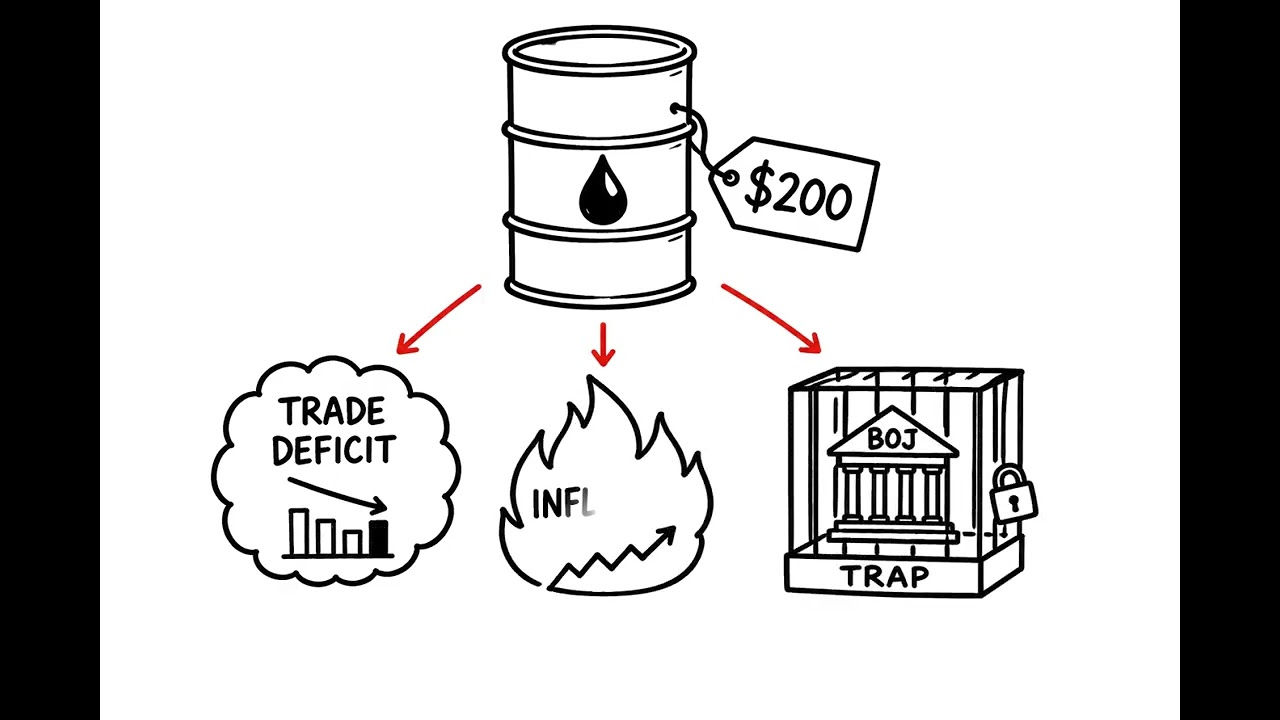 | 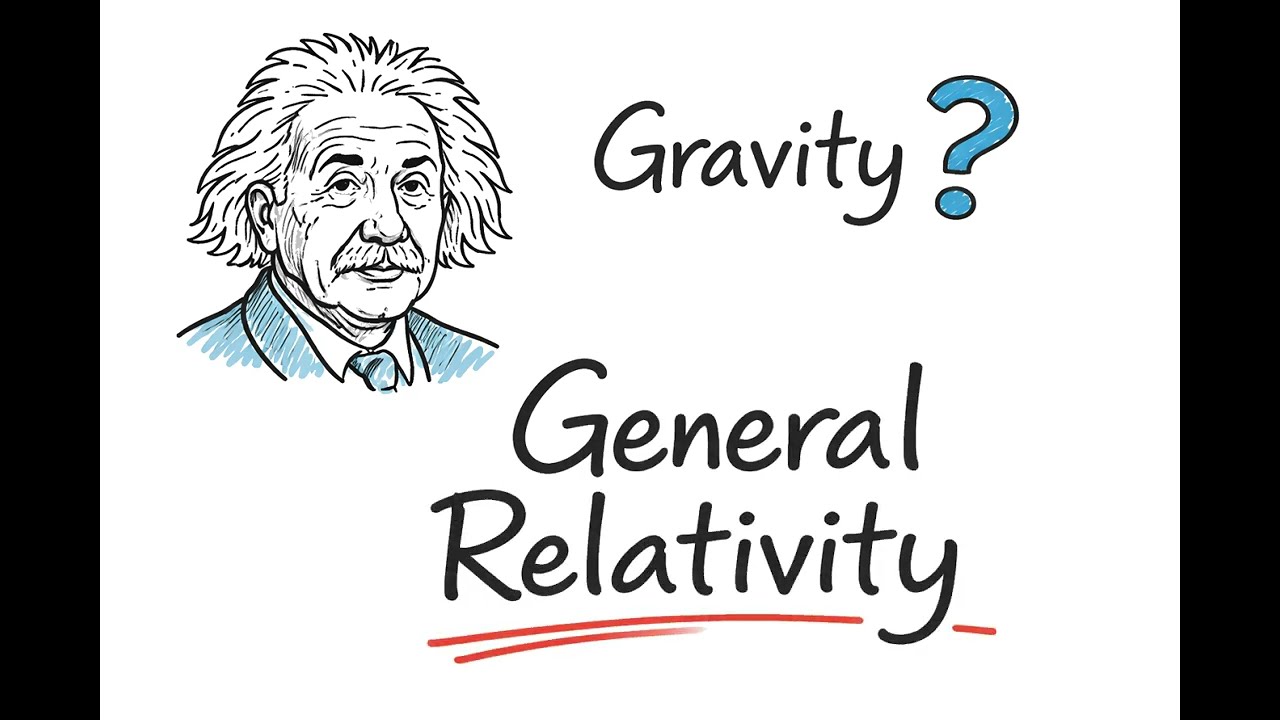 |
| The Yen Carry Trade Unwind | General Relativity in 2 minutes |
Try one:
git clone https://github.com/masihsultani/whiteboard-animator
cd whiteboard-animator && pip install -e .
whiteboard-animate examples/gyroscope.png --duration 8 -o gyroscope.mp4
What it does with your image
- Finds the ink. Every connected blob of non-white pixels becomes a component. A bundled CRAFT text detector (ONNX, CPU) marks which components are text so words are written rather than traced like shapes.
- Orders the components the way a hand would. Containers before contents, shapes before their labels, text in reading order, small dots attached to the glyph they belong to.
- Gives each one a time slot. Slots scale with the square root of area so a big fill does not hog the timeline. With a region plan (below), slots use estimated narration pacing instead.
- Assigns every pixel a reveal time. Strokes follow their skeleton from a real endpoint, so a V starts at a tip and not the apex. Closed outlines get one travelling front. Fills get an outline pass, then either an angled sweep or bristled brush strokes depending on size. Line art with junctions is decomposed into sequential pen paths so an X or a grid does not grow from the middle outward.
- Streams frames to ffmpeg. Newly finished pixels are committed once, and only pixels currently fading are blended each frame.
There is no model at render time apart from the small text detector. No GPU, no training, no API keys.
Install
Python 3.10+, with ffmpeg and ffprobe on your PATH.
Install FFmpeg first:
- macOS, using Homebrew:
brew install ffmpeg - Ubuntu/Debian:
sudo apt update && sudo apt install ffmpeg - Windows: choose a Windows build linked from the FFmpeg download page, extract it, and add its
bindirectory (containingffmpeg.exeandffprobe.exe) to your userPath. Reopen your terminal.
Verify both commands:
ffmpeg -version
ffprobe -version
Use a Python 3.10+ interpreter; on systems where python points to an older version, use python3 (or py -3 on Windows). A virtual environment keeps the dependencies separate from other projects:
python -m venv .venvActivate it with source .venv/bin/activate on macOS/Linux or .venv\Scripts\Activate.ps1 in Windows PowerShell, then install the package:
python -m pip install whiteboard-animatorThe package includes an approximately 83 MB text detection model, plus scientific Python dependencies. The model is installed with the package; rendering does not download it at runtime.
Rendering needs no API key. The one optional feature that does is --detect-regions, which asks Gemini to work out the drawing order from the image and narration. It needs the gemini extra and GOOGLE_API_KEY. You can skip it and write a region plan by hand (see below).
pip install 'whiteboard-animator[gemini]'From a checkout:
python -m pip install -e '.[dev]'
python -m pytest
The test suite includes the real bundled model and CLI-to-MP4 checks using FFmpeg. These integration tests are skipped if FFmpeg or ffprobe is missing locally; CI installs both and runs them explicitly. Use python -m pytest -m "not integration" for just the unit tests.
Troubleshooting
ffmpegorffprobenot found: install FFmpeg using the steps above and check that both version commands work in the same terminal where you run the animator. A Python package namedffmpegdoes not install these executables.whiteboard-animatenot found: activate the environment where you installed the package, or runpython -m whiteboard_animator.cliwith the same arguments.- Pip tries to compile OpenCV: try
python -m pip install --only-binary=opencv-python-headless whiteboard-animatorto select a compatible prebuilt OpenCV wheel. If none is available, use a Python version and platform supported by OpenCV's wheels. - Input or output errors: use readable image/audio files, a positive duration for silent scenes, and an output ending in
.mp4inside an existing writable directory. The CLI identifies missing files and invalid region JSON before rendering that scene. - FFmpeg encoding fails: read the diagnostic included in the error and check that
ffmpeg -encoderslistslibx264. Use--verboseto see rendering stages.
Usage
Fixed length, no audio:
whiteboard-animate scene.png --duration 8 -o scene.mp4With narration. The drawing finishes inside the audio and the finished frame holds until the audio ends:
whiteboard-animate scene.png --audio scene.wav -o scene.mp4Several scenes, concatenated in order:
whiteboard-animate a.png b.png c.png --audio a.wav b.wav c.wav -o lecture.mp4Quality presets: low (20 fps, 500k), medium (24 fps, 1500k, default), high (24 fps, 3000k). Images whose longest side exceeds 1280px are downscaled.
Pace the drawing using narration text
By default the whole image draws over the first 70% of the scene in a heuristic order. A region plan specifies what the image contains, the drawing order, and the narration text associated with each part.
With a region plan, the engine allocates the first 75% of the audio to drawing windows. Each region's share blends its fraction of annotation characters (70% weight) and bounding-box area (30% weight). If all annotations are empty, it uses box area alone. A region can finish early and hold until the next window.
This estimates pacing from text; it does not analyze speech or align to spoken-word timestamps. Pauses, changes in speaking rate, and uneven phrase lengths can cause the drawing to lead or lag the voice. --detect-regions proposes regions and their order, but does not add audio alignment. For exact cue times, pass explicit start and end times in an element_plan to the lower-level WhiteboardAnimator.render_to_file API.
whiteboard-animate scene.png --audio scene.wav --regions scene.regions.json -o scene.mp4A plan is JSON. Boxes are normalized 0 to 1000 with the origin at the top left:
{
  "idea": "Photosynthesis in one picture",
  "regions": [
    {
      "label": "sun",
      "role": "main_concept",
      "object": "a sun with rays",
      "reveal_order": 1,
      "box": {"ymin": 120, "xmin": 40, "ymax": 620, "xmax": 380},
      "expected_visual": "Sun with orange rays",
      "annotation": "Photosynthesis starts with sunlight",
      "reveal": "fill"
    }
  ]
}
With the gemini extra and GOOGLE_API_KEY set, the plan can be detected from the image and the narration text:
whiteboard-animate scene.png --audio scene.wav \
  --detect-regions --narration "Photosynthesis starts with sunlight. ..." \
  --save-regions -o scene.mp4
--save-regions writes the detected plan next to the output so you can edit it and re-render with --regions.
Python API
from whiteboard_animator import Scene, SnippetRegionPlan, render_video

plan = SnippetRegionPlan.model_validate_json(open("a.regions.json").read())
render_video(
    [Scene("a.png", audio="a.wav", region_plan=plan), Scene("b.png", audio="b.wav")],
    "lecture.mp4",
    quality="high",
)
Lower level, WhiteboardAnimator.render_to_file(img_array, draw_duration, total_duration, output_path, fps=24, bitrate="1500k", element_plan=None) takes an RGB numpy array and writes a silent MP4. The constructor exposes every tuning knob: fade length, fill detection thresholds, brush angle and width, the S-curve that decides when a fill uses brush strokes instead of a sweep, and the line-art decomposition thresholds.
What makes a good input
The engine expects ink on white. Pixels lighter than 240 gray are background, and near-white is snapped to white. Clean marker-style drawings with a handful of flat colors animate best. Photos, gradients, and textured or colored backgrounds will not.
Engine alone vs Kinoslide
| This repo | Kinoslide | |
|---|---|---|
| Animate an image you already have | yes | yes |
| Write the script from a PDF or prompt | yes | |
| Generate the scene images | yes | |
| Narration (Gemini and ElevenLabs voices) | bring your own audio | yes |
| Narration pacing | estimated from a region plan | automatic |
| Multiple scenes joined into one video | yes | yes |
| Hosted rendering, sharing, editing | yes |
Text detection model
whiteboard_animator/models/craft.onnx (83 MB) is an ONNX export of craft_mlt_25k from CRAFT-pytorch (MIT). Set CRAFT_MODEL_PATH to use a different file. If the model cannot be loaded the engine still runs and treats text as ordinary strokes.
Contributing
Issues and pull requests are welcome. Things we would like help with:
- Non-white backgrounds (dark boards, paper textures)
- SVG input, tracing real vector paths instead of a raster skeleton
- Better ordering for dense diagrams without a region plan
- A hand or marker sprite that follows the pen position
License
MIT. See LICENSE.